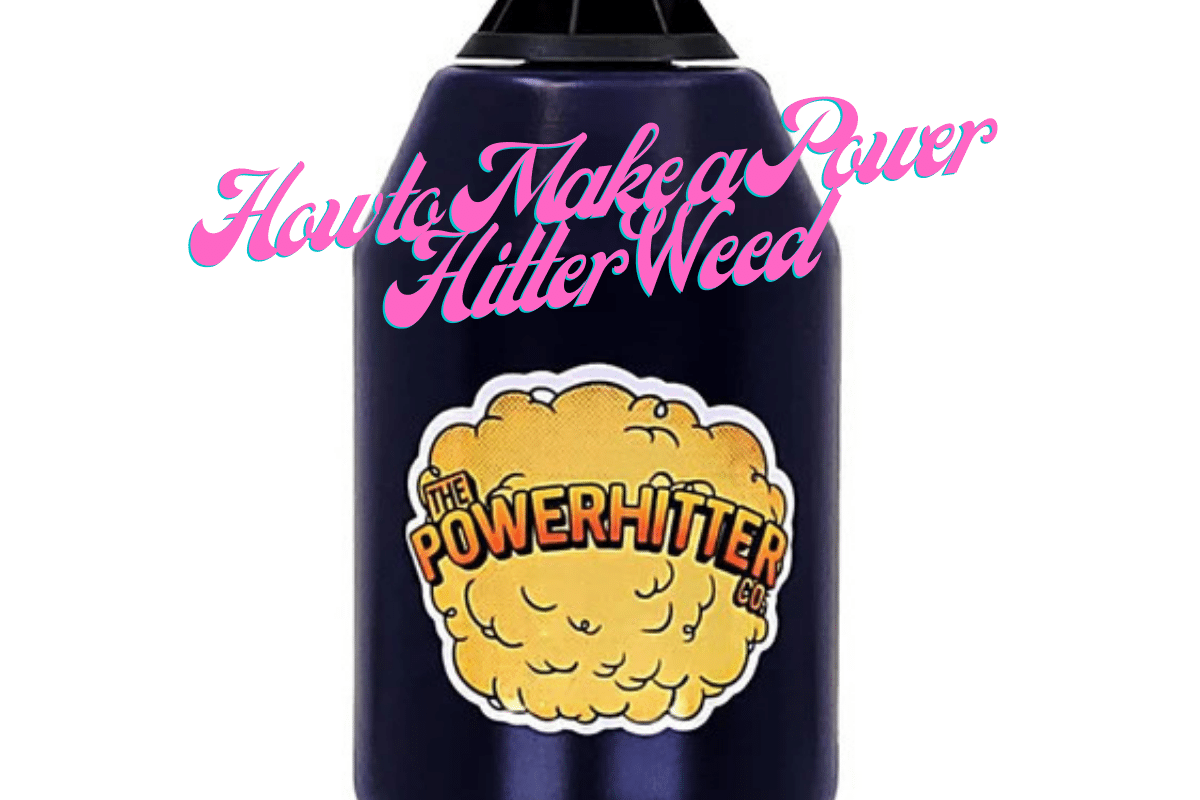
If you’re a cannabis enthusiast looking for an efficient and fun way to enhance your smoking experience, making a power hitter might be just the project for you. A power hitter is a simple device that allows you to maximize smoke inhalation with minimal effort and provides a more controlled dosing of smoke compared to traditional methods. This guide will walk you through the steps to create your own power hitter using household items.
What is a Power Hitter?
A power hitter is essentially a smoking tool that propels smoke directly into the user’s lungs through a controlled mechanism, typically a small hole that you cover and uncover. It’s known for its convenience and the intense hits it can produce.
Materials Needed
Creating a DIY power hitter is straightforward and inexpensive. Here’s what you’ll need:
- Plastic bottle (500 ml to 2 liters, depending on preference)
- Small tube (like those from a pen or a small metal pipe)
- Cannabis (ground)
- Lighter
- Knife or scissors
- Tape or glue (optional, for sealing)
Step-by-Step Instructions
Step 1: Prepare the Bottle
Take your plastic bottle and thoroughly clean it. Remove any labels and residue to ensure nothing contaminates your smoking experience. Once cleaned, let it dry completely.
Step 2: Modify the Cap
Use a knife or scissors to make a hole in the center of the bottle’s cap. The hole should be just big enough to snugly fit your small tube or metal pipe. This will be your main smoking channel, so ensure it’s smooth and clean.
Step 3: Insert the Tube
Insert the tube or metal pipe into the hole in the cap. If it feels loose, use a bit of tape or glue around the hole to secure it and make it airtight. The better the seal, the more effective your power hitter will be.
Step 4: Make a Carb Hole
Create a small hole near the bottom of the bottle. This will serve as your carb—a valve that controls air flow into the bottle and allows the smoke to be pushed out when you inhale. Make sure this hole is small enough to cover with a finger or thumb.
Step 5: Load the Cannabis
Attach the cap back onto the bottle. Place a small amount of ground cannabis into the end of the tube sticking out from the cap. Light the cannabis while simultaneously covering the carb hole with your finger to allow smoke to fill the bottle.
Step 6: Enjoy Your Power Hitter
Once the bottle is filled with smoke, take your finger off the carb hole, place your mouth over the opening of the bottle, and gently squeeze. The built-up pressure will send a stream of smoke directly into your lungs.
Safety Tips and Considerations
- Ventilation: Always use your power hitter in a well-ventilated area to avoid excessive inhalation of smoke.
- Material Safety: Be cautious with the type of plastic bottle you choose. Some plastics can melt or release harmful chemicals when exposed to high temperatures.
- Responsible Usage: Remember that smoking can impair your abilities. Use your power hitter responsibly, and be mindful of the effects of cannabis.
Conclusion
Making a power hitter is a simple and creative way to enjoy cannabis. It’s not only cost-effective but also a fun project that you can customize to fit your personal style and preference. Whether you’re gearing up for a social gathering or just want to enjoy a quick and intense hit, a DIY power hitter is a great addition to your smoking repertoire.
Remember, the quality of your experience depends heavily on the materials used and the precision in assembling your power hitter. Take your time, be meticulous, and most importantly, enjoy the process and the enhanced smoking experience it provides!


